Ever visited a website and noticed a little tab in the bottom right corner, usually something along the lines of “We’re online!” or “Chat with us now!”. Perhaps you’ve even used this feature yourself and chatted with a sales or support person on the website you were browsing.
If you’ve ever felt like this would be a great feature to have on your own website, you may have started to research live chat software, and possibly come to the conclusion that the best ones come with a bit of a hefty price tag – particularly for a small business.
Well, a new option has now popped up that might be just the ticket!
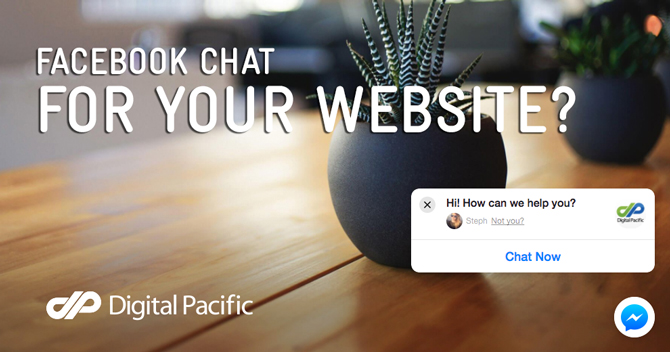
As of 30 November, Facebook announced the open beta of their new Customer Chat Plugin. Essentially, you insert a small piece of code into the header of your website, which then brings the Facebook chat platform into your website.
On the front-end of your site, visitors will see a small, familiar chat icon down the bottom right-hand corner.
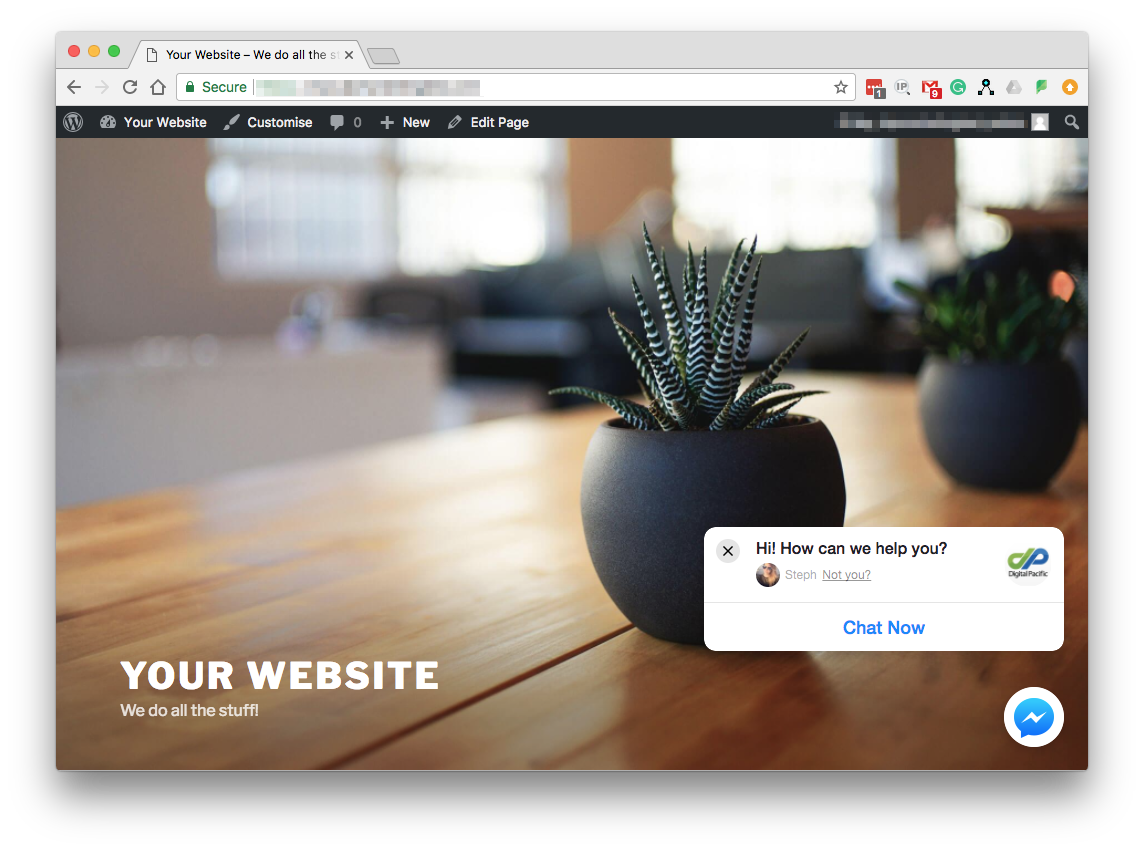
When the icon is clicked on, a chat window opens up, just like it currently does when a visitor initiates a chat with a business page on Facebook.

Presuming the visitor is already logged into Facebook on their computer, they will be able to chat to your business right away without filling out any details. Best of all, any conversations visitors have with you on your website seamlessly carry over to Facebook, so that the visitor can continue chatting with you from within Facebook either in a web browser or on their Facebook messenger phone app. The conversation will automatically show up alongside the rest of the person’s conversations.
It’s also pretty tough to beat the price tag of the Facebook Customer Chat plugin, coming in at a low, low $0 per month/year/forever-and-ever.
If you’re keen to add live chat to your website, we’ve listed out the comprehensive steps to do so below.
Installation Steps
Step 1: Visit https://developers.facebook.com and sign in with your Facebook account.
Step 2: In the upper-right corner, click “My Apps”, then “Add A New App”.
Step 3: Give your app a name (typically the name of your business/website), and type in your email address. We would recommend using your public business email address, such as “[email protected]” or really any other email address you have access to.
Step 4: On the left-hand menu, click “Dashboard”.
Step 5: Copy and paste your App ID down – you will need it for the next step.
Step 6: Grab the Facebook SDK code snippet here. Paste this snippet into the header of your website’s coding. If you’re using WordPress, most WordPress themes have an area where you can paste code into the header. But if not, you can grab a plugin such as Insert Headers and Footers.
Step 7: After pasting in the code snippet into your header, find the part where it says your-app-id and replace this with your App ID from step 5 (ensuring you keep the apostrophes on either side).
Step 8: Visit your business Facebook page and click on the ‘About’ tab. Scroll to the bottom and you will find your Page ID. Copy your Page ID down – you will need it for the next step.
Step 9: Visit the Messenger Platform developer resources page and grab the code snippet in the black box under the ‘Setup Steps’ heading. Copy and paste this code on a new line in the header of your website, beneath the code you pasted in at step 6. Within the snippet, find the part where it says <PAGE_ID> and replace this entire bit (including the brackets) with your business Facebook Page ID that we collected in step 7.
Step 10: In the code snippet you pasted in at step 9, you may delete two lines; the one beginning with “ref” and the one beginning with “minimized”. If you are pretty confident with javascript, you can alternatively tweak these lines as you see fit using the reference guide here. But if you’re not sure, simply delete those two lines. It should look a bit like this when you’re done:
<div
class=”fb-customerchat”
page_id=”238275106911180″>
</div>
Step 11: Visit your business Facebook page and click on settings, then click “Messenger platform” on the left-hand menu. In the “Whitelisted Domains” box, type in your website’s full domain.
You’re now finished! Clear your website’s cache (if you have caching installed) as well as your browser cache and then reload your website.
Remember, when testing your new plugin, you may not get notifications of new messages as you will technically be talking to yourself. If you can, ask a friend to visit your website and start a chat to test it properly.