One of the mistakes most commonly made on WordPress websites is forgetting (or simply being unaware of the necessity) to properly set up outbound email.
It isn’t made particularly clear that it should be done at any point, nor is it a setting that can be adjusted in WordPress without a plugin, but setting up your website’s outbound email is an important component to ensuring your emails get delivered successfully and do not end up in your customer’s junk folders.
The reason it is so commonly neglected is that email sent from your WordPress website will still work without being set up at all. It just may not work as well as it should.
What outbound email are we talking about?
We’re referring to the numerous emails your WordPress website will generate and send on its own accord. This includes things such as password reset emails, comment notification emails, new order notification emails and customer receipts (if you have a shop installed) as well as a whole bunch of other email types sent to either you or your customers.
What happens if you don’t configure outbound email?
Outbound email will still work out of the box by default without any intervention. But you may find in time, or worse yet never realise, that some emails are ending up in junk mail.
Unless you intervene, your WordPress website will default to using your web hosting’s built-in email server.
The two main downsides to this are as follows:
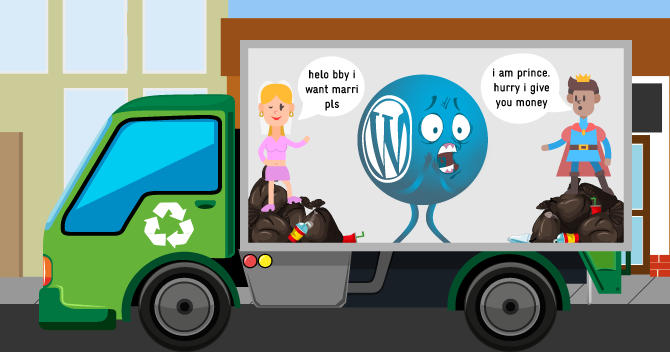
- Emails sent this way may have a strange from address such as “From: [email protected] via vmcp28.digitalpacific.com.au”, which isn’t a particularly professional look, as well as it blatantly revealing your server’s hostname.
- Email sent this way may not pass your domain’s SPF record, because it is coming from the server’s hostname, rather than your domain name, causing it to be flagged as junk mail for some users.
What should you do?
The best practice for any WordPress website is to set up outbound email using a proper, authenticated outbound mail server.
Luckily, this is only a 5-minute job!
First, you will need to either create an email account or choose one of your existing email accounts to use to send your WordPress emails. We would recommend using a general enquiry email address if you have one, for example, [email protected].
If you don’t have a generic email address such as this, you may use any other email account of your choice, or perhaps consider creating an email address in your cPanel account specifically dedicated to this purpose. It may be something along the lines of [email protected], for example.
Whichever email you choose to use, make sure you either check the mailbox frequently in case you receive any inbound mail to it, or set up a forwarder from this address to one of the addresses you already check frequently.
Please note: If you are using an external email hosting service such as Google or Microsoft 365, we would recommend ensuring your developer assists you with the task of setting up WordPress SMTP. This situation adds an extra layer of consideration as you have the option of either using your external email hosting for your SMTP server, or using your cPanel – just be sure that if using cPanel you create an email address that matches one of your existing addresses in your external email hosting so that any replies will be received.
Note down the username and password of your chosen email account, and then head to your WordPress dashboard. You’ll need to now grab an SMTP plugin. There are several free SMTP plugins in the WordPress repository that will help you set up your outbound email in no time. We have had good experience using Easy WP SMTP.
Once the plugin has been installed and activated, you’ll find the settings area for Easy WP SMTP under the “Settings” menu (if you chose a different SMTP plugin, there’s a good chance you’ll find the settings in the same general area).
The SMTP plugin will ask for a few details, including:
- From Email Address: Your chosen email address as above.
- From Name: Usually the name of your business.
- Reply-To Email Address: This field will be optional. You can use it to set a different reply address if needed so that if your customers respond to one of the emails, it will be directed to this address.
- SMTP Host: If you have an SSL certificate installed on your domain, you can simply type your domain in this field (not including the www, for example, yourdomain.com.au). If you do not have an SSL certificate, we would recommend getting one installed as soon as possible. You can find out how here. Please note that if you are using a CDN service (such as Cloudflare) that masks your server IP address, this method will not work, in which case it would be best to use your server’s hostname (for example, vmcp28.digitalpacific.com.au). If using an external email hosting service for your SMTP (such as Google or Microsoft 365), you may need to contact them to find out what your host should be set as.
- Type of Encryption: SSL
- SMTP Port: 465
- SMTP Authentication: Yes
- SMTP Username: Your chosen email address as above.
- SMTP Password: The password of your chosen email address as above.
Once done, your SMTP plugin should allow you to test your new outbound server and voila! Your emails will now have a much better chance of staying out of the junk mail folder!
To further improve your email reliability, we would highly recommend checking your SPF record is enabled and set up correctly.
If you get stuck along the way with any of the above, we would recommend speaking with your web developer for further assistance.