Part of the branding process for a popular website involves having a recognisable image, whether that be through a logo design or website theme and colour scheme. You might even notice when navigating your bookmarks or browser tabs that many websites, like Twitter and Digital Pacific, have that ever-so-tiny favicon.ico image present. Favicon.ico actually stands for favourite icon, and now you can make your own, further pushing your own brand, by following these simple steps.
![]()
Step 1: Create a tiny image, 16 x 16 pixels to be exact. Yes, it is tiny, so make it as simple as possible while also making it clear to web users that it is in fact for your website. For tips, browse some of your favourite websites taking note of the image designs they went with, noting what works and what doesn’t. The image file can be created in either Photoshop, or by using a favicon conversion of a normal picture.
a) When using Photoshop, one can actually install a plugin that allows Photoshop to export to the .ico (Windows Icon) file format. This plugin can be installed from this website. Using Photoshop has its advantages because it also allows you to work with a larger canvas, such as 64 x 64 pixels, and resize without much image distortion. Try many different techniques before choosing your final product. The favicon file might be enhanced by simplifying or sharpening more than normally expected. When happy, save your file in the favicon.ico format.
b) In order to use a favicon created from a normal image, you will need to run it through an image generator. Be careful when using this process as some favicon.ico generators create some horrible looking images. Take into account that the output will still only be 16 x 16 pixels square, so anything too terribly intricate might look like a blob in the end. The best way to go about this process would be to use the favicon.ico Generator site. This website simplifies the process significantly by letting you upload an image file and then tweak it on the screen to create the optimal output level.
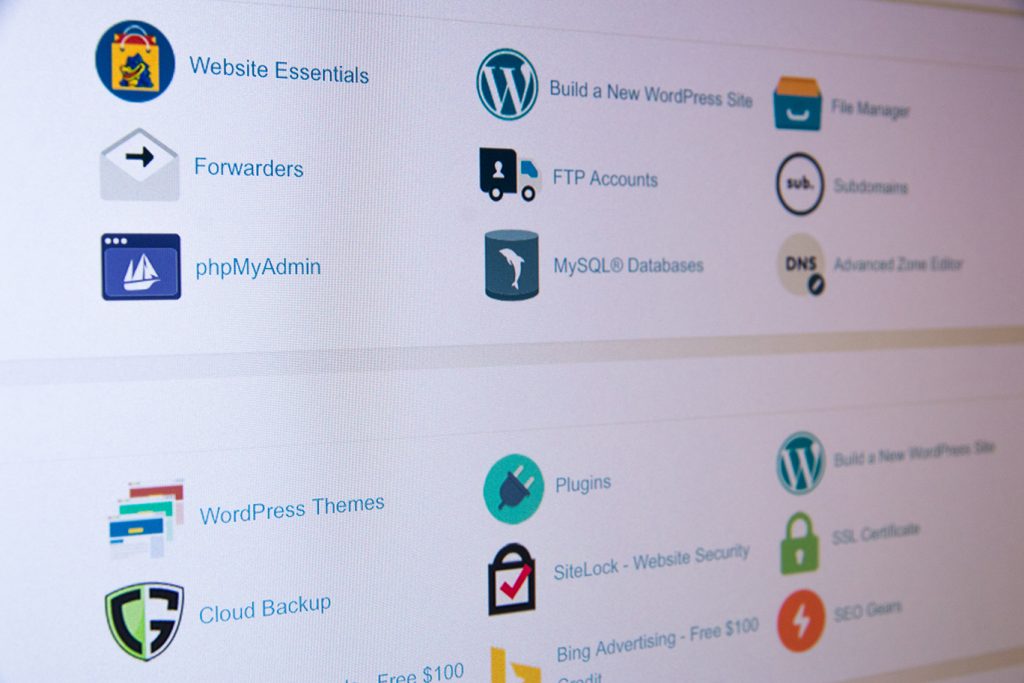
Step 2: Once you have the favicon.ico file on your computer, it is time to upload it to your website. This file must be placed into the same directory that contains your index page file, most often in the root.
Step 3: A line of code must now be placed in the header of the pages you would like the favicon.ico image to load with. Somewhere in between the <head> and </head> section, place this line:
<link rel=”shortcut icon” href=”/favicon.ico” type=”image/x-icon” />
*To complete this process, you may need to contact your web designers for assistance unless you are directly responsible for updating the code of your website design.
Step 4: Pull up your website in a browser of your choice to see your new favicon in action. If the image does not show up, you may need to refresh or clear the cache.
If unhappy with the outcome, start over and make changes as necessary. Otherwise, enjoy the new addition to your web branding experience!